|
VR Tunnelling Pro UE4
Plug-and-Play VR Comfort
|


|
|
VR Tunnelling Pro UE4
Plug-and-Play VR Comfort
|
|
First, ensure that the plugin is installed by either dropping the VRTunnellingPro plugin folder into your project's Plugins folder, or add it as an engine plugin to your Unreal Engine 4.22 Plugins folder.
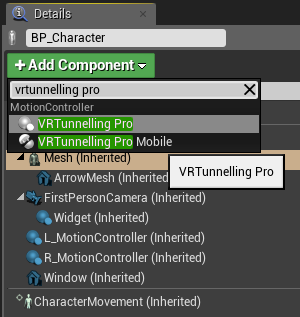
Ensure that the plugin is enabled within the editor by accessing the Edit menu and opening the Plugins browser. Locate the plugin within the Virtual Reality category and ensure that the Enabled box is ticked for the plugin.
Select your player Character blueprint and within either the scene or the Blueprint editor, use the Add Component button then select the VRTunnellingPro component. Note that the Character blueprint must have a camera attached to it, in order for the plugin to function.
The Map1 level is a quick and easy way to test out the main features of VRTP. You can quickly cycle between basic, skybox and masked modes while moving around, and see how these line up with settings on the VRTunnellingPro component.
The Map2_Mobile level is an equivalent version of the same level, but set up with the VRTunnellingProMobile component. Note that no mobile device-specific controls have been set up for this example, so mobile builds compiled directly from it will not have built-in player controls by default.


The default settings on the Tunnelling effect use the turning rate (angular velocity) of the Motion Target to drive a black vignette in the user's peripheral vision.
To also use acceleration and/or speed to drive the effect, tick Acceleration and/or Velocity. These motion modules have no effect by default - set the Min and Max values on each according to the motion present in your project.
Below the Min value of each, no effect will appear. Above the Max value, the effect will max out.
The Smoothing value smoothes out the motion calculation to prevent the effect flashing and stuttering.
Set the color, coverage and feather to change the appearance of the basic vignette. Coverage is how much of the screen is vignetted at maximum motion, and feather determines the fading on the inner edge.
To use a skybox for the vignette, change the Background Mode to SKYBOX. Click the Advanced dropdown at the bottom of the plugin details panel. From here you can do one of the following:
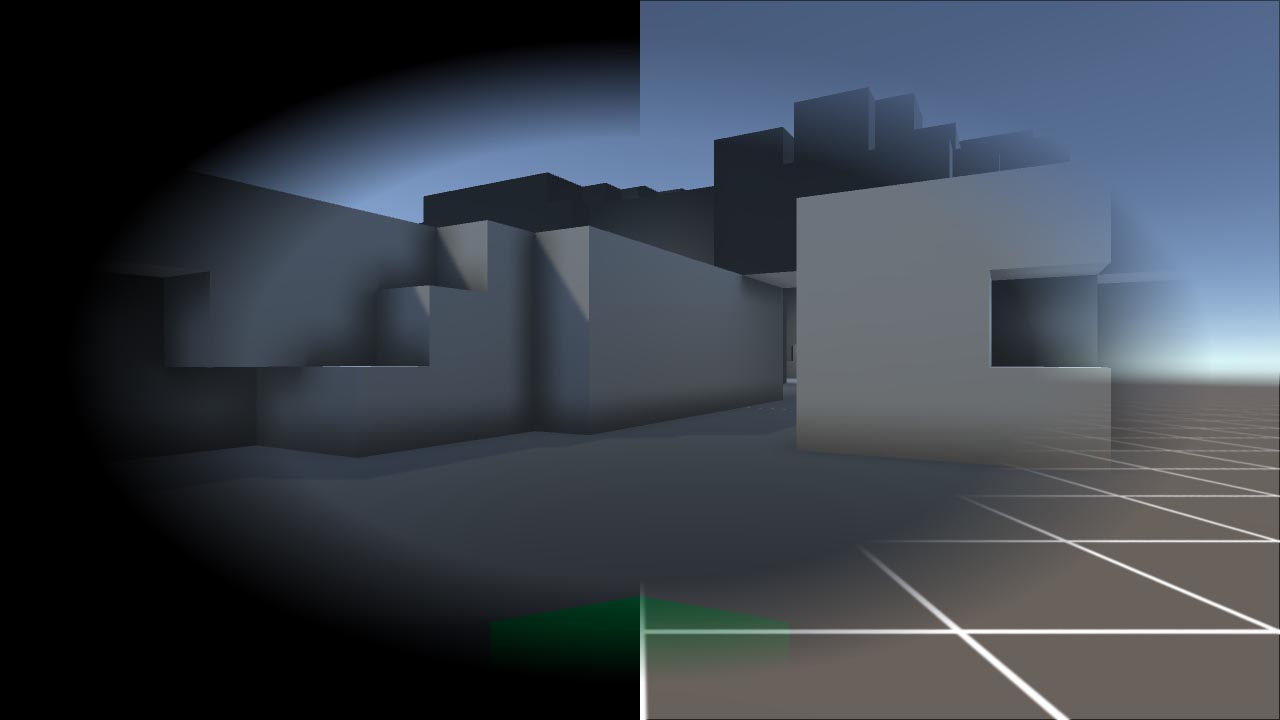 Left: COLOR mode. Right: SKYBOX mode.
 For in-depth information, please refer to the Manual and API reference.
 1.8.15